Basic concepts: Prototyping
Embedded Wizard Studio contains an integrated prototyping environment that makes it simply to test the function of your implemented application instantly while you work on your project. In the case, the implementation doesn't behave as expected the prototyping environment helps you also to debug and analyze the reasons for the incorrect functionality.
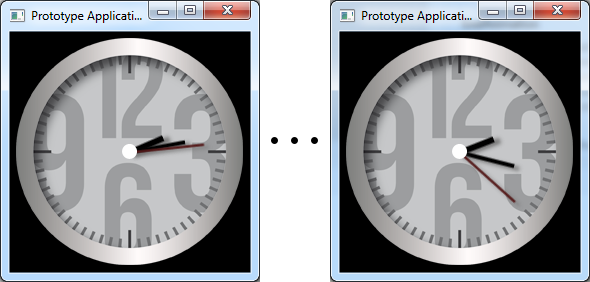
When you start the prototyping, Embedded Wizard opens the Prototyper window. You can imagine, this window represents the display in your final product. Now you can interact with the Prototyper by using the keyboard and the mouse device similarly as you will do with hardware buttons or touchscreen available in your product. If the application implements animations, the animations are executed accordingly, for example a clock is updated automatically:
Internally, the prototyping environment includes a virtual machine, a kind of interpreter for the Embedded Wizard own programming language Chora. Thanks to this virtual machine the prototyping environment is able to evaluate and execute your implementation without the necessity to use any external compiler or other development tools. The interpreter emulates all essential characteristics of your particular target system like its respective color format or the display resolution. Accordingly, what you see in the Prototyper window is what you finally get in your target device.
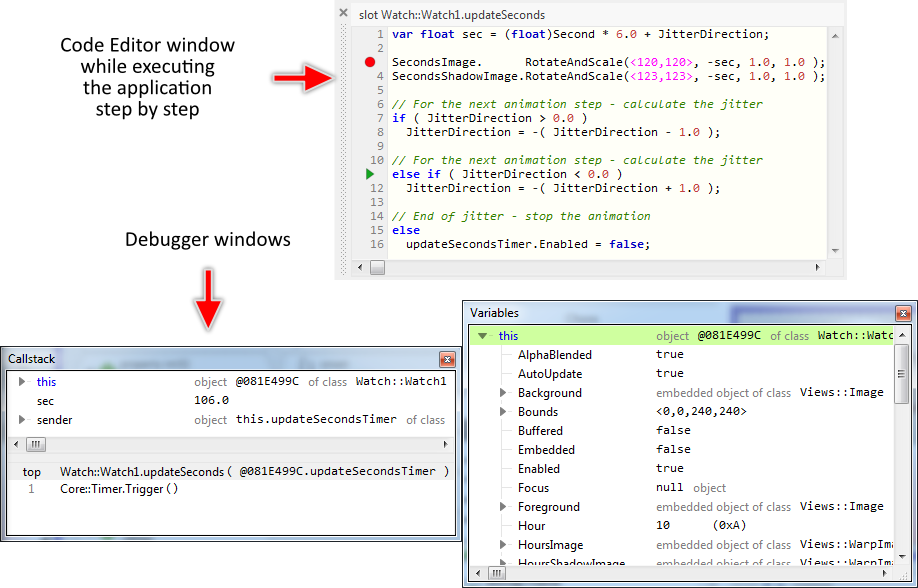
During prototyping you can set breakpoints, execute the code step by step and inspect the current state of the tested application conveniently. Embedded Wizard provides for this purpose various Debugger windows, which appear automatically when the execution is interrupted: